60% Less Paper & Ink
Schools and organizations often need to print out essential guides to give to students or staff.
In this guide we’ll show you how to reduce paper and ink costs by 60% or more with just a few clicks.
By default, many popular guides can require 10 pages or more to print out. Combining this with the common need to print multiple copies of each document, and things can add up quickly!
The new “Printing Options” Panel allows you to save money and trees with intelligent options that make your page count more efficient.
We’ll also go through each option in detail so you can make better decisions as you create printouts for your organization. You’ll learn how to use less ink with lighter font weights, and use less paper with custom font sizes, and multi-column layouts.
Let’s jump in with a common example…
A Quick Example
One of our most popularly printed pages is the “STAMP Proctoring Guide“. By default it requires 10 pages to print the complete document.
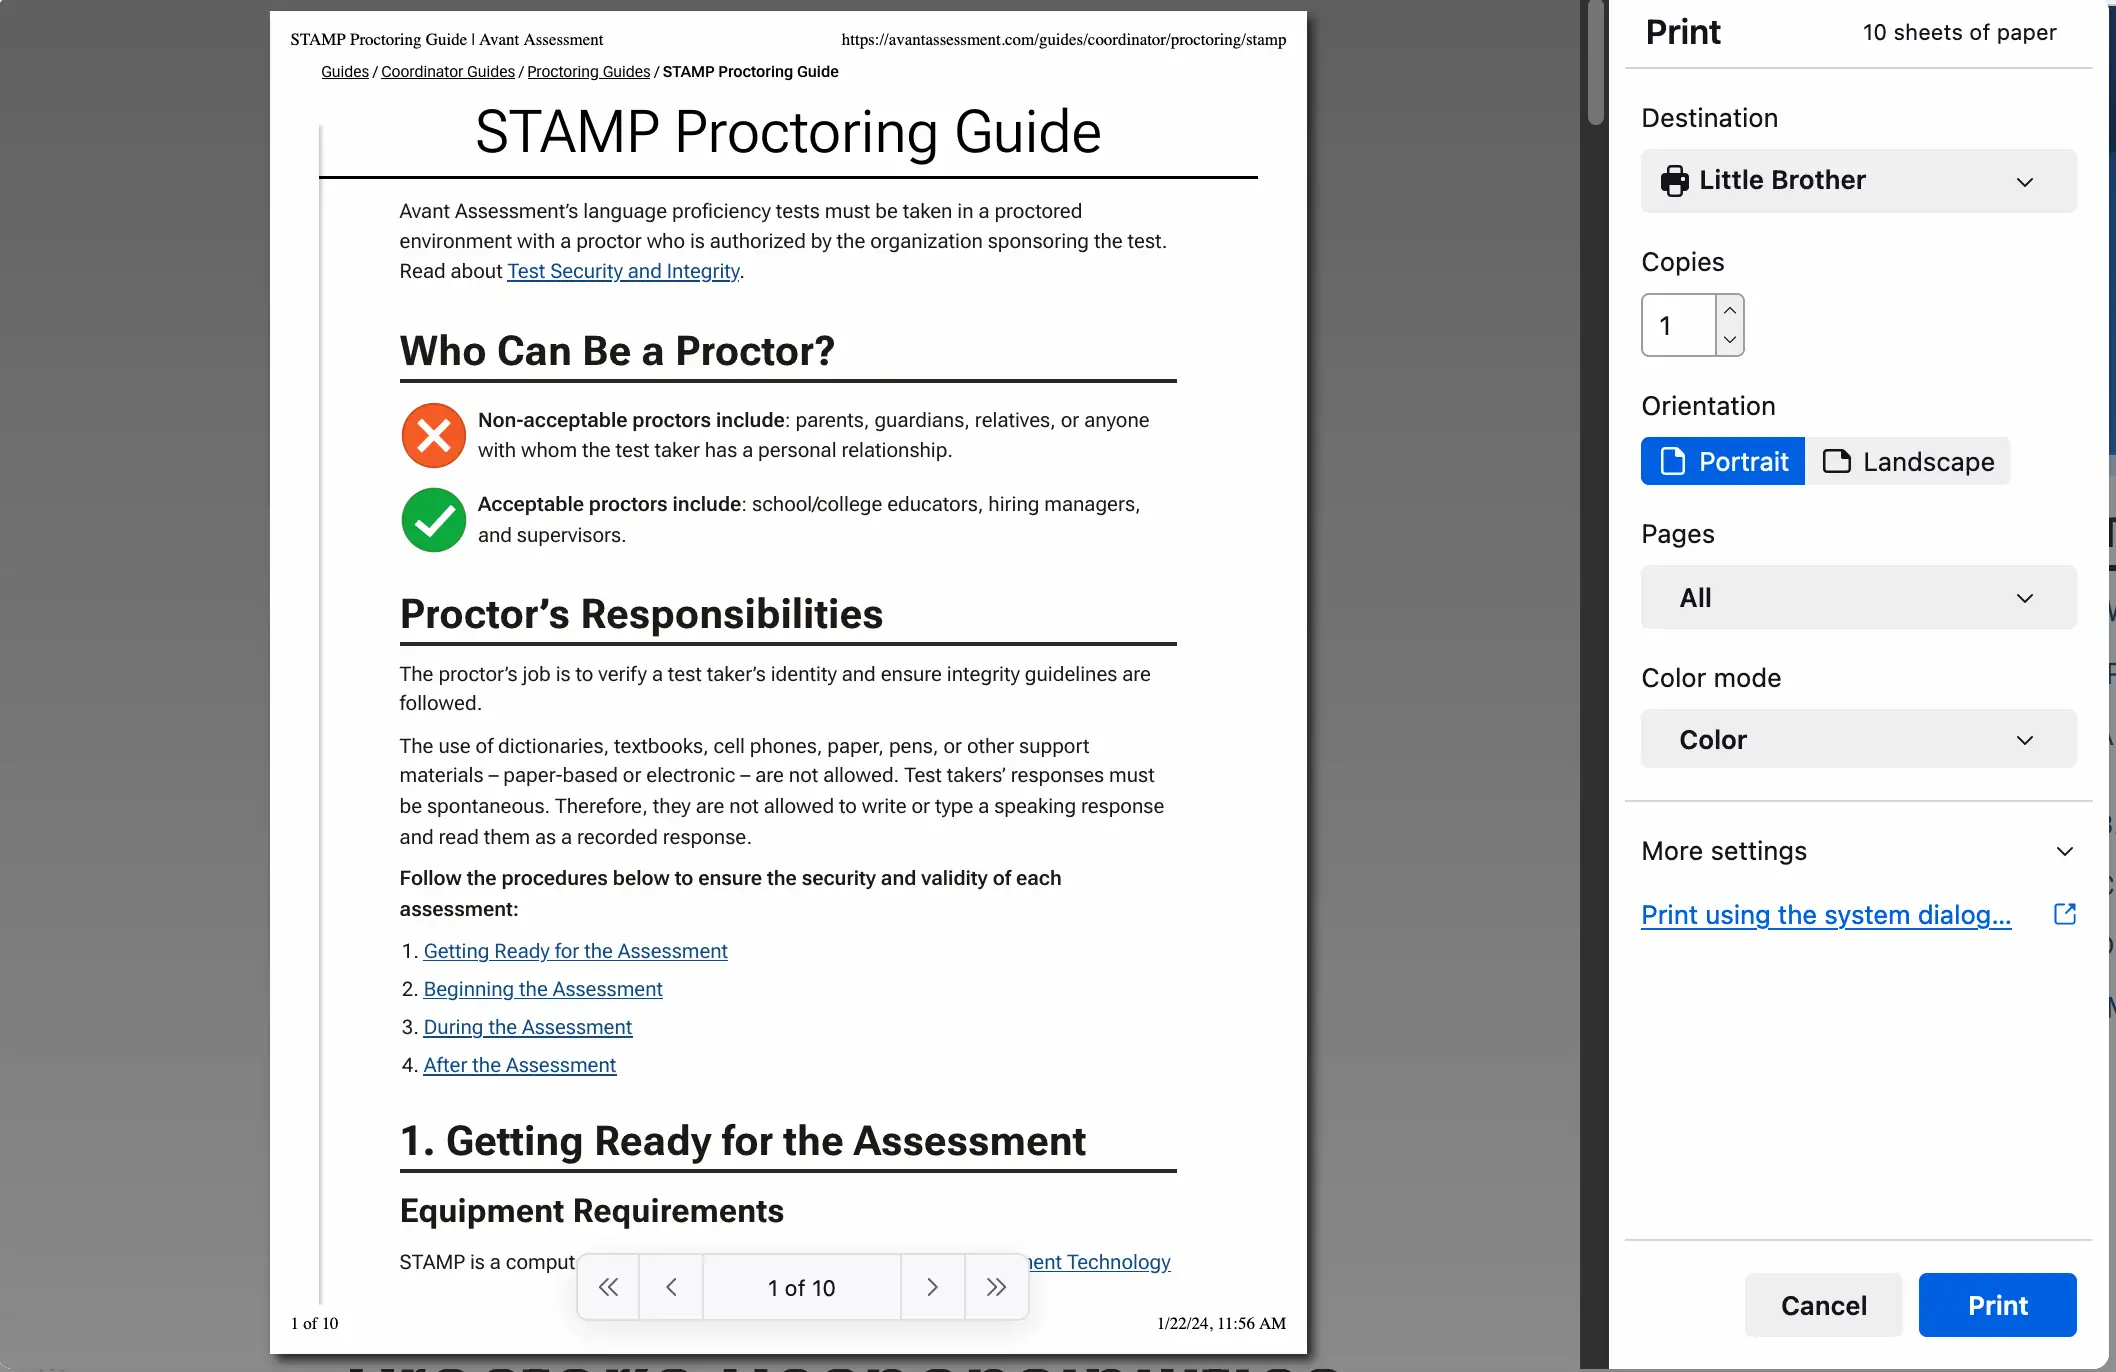
But with just a couple of clicks we can cut it down to 4 pages.
Here’s how:
4-Step Mini-Tutorial:
If you just need an easy way to save paper and ink, do the following steps…
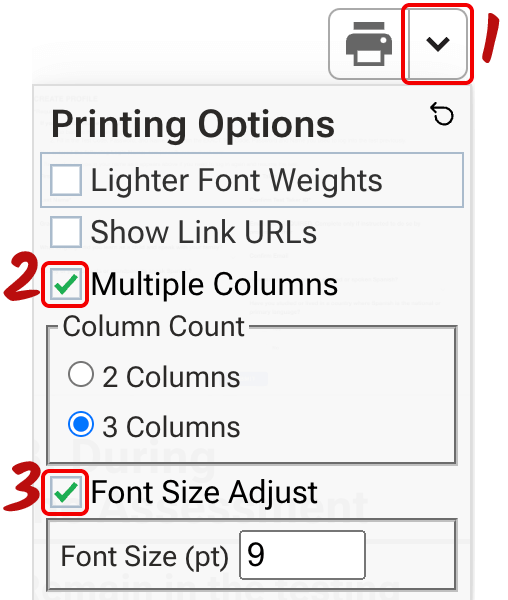
- Click the down arrow icon (next to the print icon)
- Click “Multiple Columns”
- Click “Font Size Adjust”
- Click the Print icon.
Here’s a 9-second video tutorial:
By changing these two options, you’ll reduced the page count from 10 pages to only 4 pages.

If you really want to use as few pages as possible, you can even change the font size to 6pt, and get the entire document to fit on only 2 pages. However, that may not be a ideal reading experience for many people.
For most situations, we recommend choosing a font size between 8pt and 12pt.
. . .
In the following section we’ll review each option in detail, and learn why you might want to use (or not use) each option.
Lighter Font Weights
The “Lighter Font Weights” option uses letters with thinner strokes. This saves on ink and creates a pleasant lightweight aesthetic.
If you choose to combine this with smaller font sizes, we recommend you print a test page, since very small fonts with lighter weights might prove difficult to read.
Print Link URLs
The “Print Link URLs” option displays the URL for each link in the document. Tech savvy users can use these URLs to find where each link goes.
Generally, we recommend leaving this option unchecked, as it can clutter up the document and confuse some readers, but it can be useful for tech savvy audiences.
Multiple Columns
For centuries, type-setters and graphic designers have used multi-column layouts because it’s a proven method for increasing text density on a page. Even without changing the font size, using a 2-column or 3-column layout can help you use fewer pages when printing.
Should I use 2 Columns or 3?
3-Column Layouts will provide the highest text density, but for some articles this will make images too small to be practical. If you’re concerned about images being too small, go with the 2-column layout. If you want to fit as much text as possible on a page, use the 3-column option.
Font Size Adjust
This powerful feature let’s you adjust the relative font size of the document. You can choose any size between 6pt and 18pt. Using a font size between 8pt and 10pt will help you save pages, but you could also use a larger size like 16pt or 18pt to make it easier to read for people with limited vision.
For an optimal reading experience, we recommend using 2-column or 3-column layout when you use a font size smaller than 12pt.
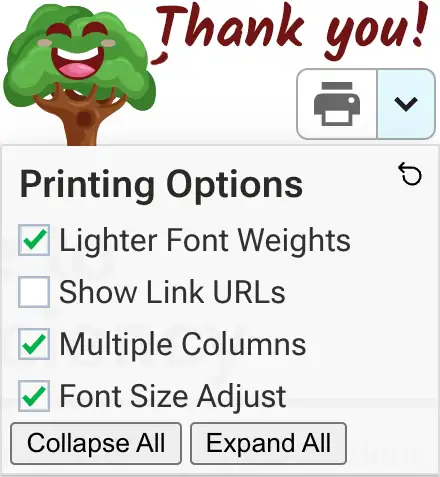
Expand All & Collapse All Buttons
Some guides have expandable sections (such as: Teacher Power Up or STAMP Getting Started).
These pages include an “Expand All” button inside the Printing Options Panel. Clicking this button will open all the collapsed sections, ensuring nothing gets left out when you print the page.
Conversely, you can also click the “Collapse All” button to close all the expandable sections on a page. This can be useful when you do not need to print the content inside of the expandable sections and want to save paper.